> ## Documentation Index
> Fetch the complete documentation index at: https://nango-marcin-get-deployments-docs.mintlify.site/llms.txt
> Use this file to discover all available pages before exploring further.
# Sage Intacct (Client Credentials) - How do I link my account?
# Overview
To authenticate with Sage Intacct using Client Credentials, you will need:
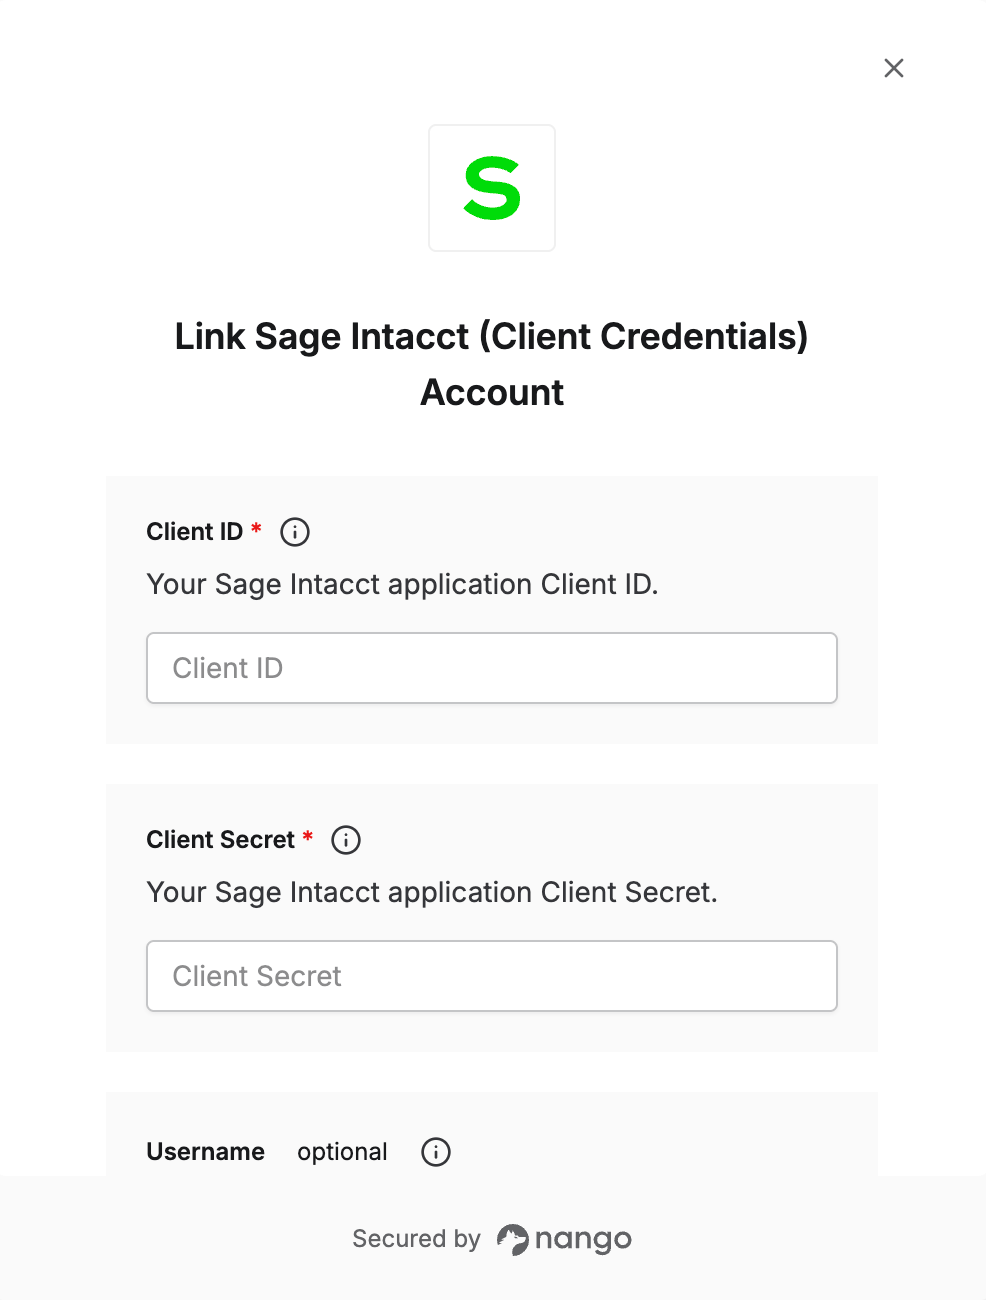
1. **Client ID** — Your Sage Intacct application Client ID
2. **Client Secret** — Your Sage Intacct application Client Secret
3. **Username** *(optional)* — The Web Services user ID in `userId@companyId` format (e.g. `Admin@MyCompany`). Append `|entityId` for multi-entity companies. Required if not using Session ID.
4. **Session ID** *(optional)* — A valid UI or API session ID. Required if not using Username.
This guide will walk you through obtaining each of these values.
### Prerequisites
* An active Sage Intacct account with administrator access
* A Sage Intacct Web Services developer license
### Instructions
#### Step 1: Create a Web Services user
If your company already has a Web Services user defined for your application, you can skip this step.
1. Have an admin log in to the company and navigate to **Company** → **Admin** → **Web Services Users** → **Add**.
2. Create a new Web Services user and assign the necessary permissions or role.
3. Note the **User ID** — you will need it for the Username field later.
4. Note your **Company ID**: navigate to **Company** → **Setup** → **Company** and look at the **Company ID** field. You will need it to format the Username as `userId@companyId`.
#### Step 2: Register an API client
1. Go to the [Sage developer console](https://developer.sage.com/intacct/) and sign in or sign up.
2. Click **View workspaces**, then **Add workspace** to create a workspace for your company.
3. Click **Apps** in the left column, then **Add application**.
4. Enter a name, home page URL, and contact email, then click **Create**.
5. Open the new application, click **Create API keys**, and select **Sage Intacct** from the **Sage Product API** drop-down.
6. Set **Client Scope** to **Production** or **Non-Production** as appropriate.
You cannot change the client scope after it has been set.
7. Click **Create**.
8. Copy your **Client ID** and **Client Secret** from the Application Details page.
Store the Client Secret server-side only. Never expose it in client-side code, logs, or URLs.
#### Step 3: Authorize the client application
1. In Sage Intacct, navigate to **Company** → **Setup** → **Company** → **\[Edit]** → **Security** → **Authorized Client Applications** → **Add**.
2. Enter the **Client ID** from Step 2.
3. Enter the **Web Services User ID** from Step 1. This field is case-sensitive — enter it exactly as it was created.
#### Step 4: Enter credentials in the Connect UI
When you have your **Client ID**, **Client Secret**, and either **Username** or **Session ID**:
1. Open the form where you need to authenticate with Sage Intacct.
2. Enter your **Client ID** and **Client Secret** in their respective fields.
3. Enter either your **Username** or a valid **Session ID** — one of the two is required.
* Username format: `userId@companyId` (e.g. `Admin@MyCompany`). For multi-entity companies, append the entity ID: `userId@companyId|entityId` (e.g. `Admin@MyCompany|Central Region`).
4. Submit the form.
 You are now connected to Sage Intacct (Client Credentials).
***
You are now connected to Sage Intacct (Client Credentials).
***