> ## Documentation Index
> Fetch the complete documentation index at: https://nango-marcin-get-deployments-docs.mintlify.site/llms.txt
> Use this file to discover all available pages before exploring further.
# Jamie - How do I link my account?
# Overview
To authenticate with Jamie, you need:
1. **API Key** — A workspace or personal API key that grants access to the Jamie API.
This guide walks you through creating your API key.
### Prerequisites
* An active Jamie account on the **Pro**, **Team**, or **Enterprise** plan
### Instructions
#### Step 1: Create an API key
1. Log in to your [Jamie account](https://app.meetjamie.ai).
2. Go to **Settings** → **Developers** → **API Keys**.
3. Click **Create API Key**.
4. Choose the key type:
* **Workspace key** — access all meetings and tasks across your workspace
* **Personal key** — access your own meetings and tasks, plus shared meetings
5. Copy the generated key immediately.
The API key is shown only once. Store it securely and never expose it in client-side code, logs, or URLs.
Both key types start with `jk_`. Use the Request Builder in **Settings → Developers → API Keys** to visually construct and test requests before integrating.
#### Step 2: Enter credentials in the Connect UI
Once you have your API key:
1. Open the form where you need to authenticate with Jamie.
2. Enter your **API Key** in the designated field.
3. Submit the form.
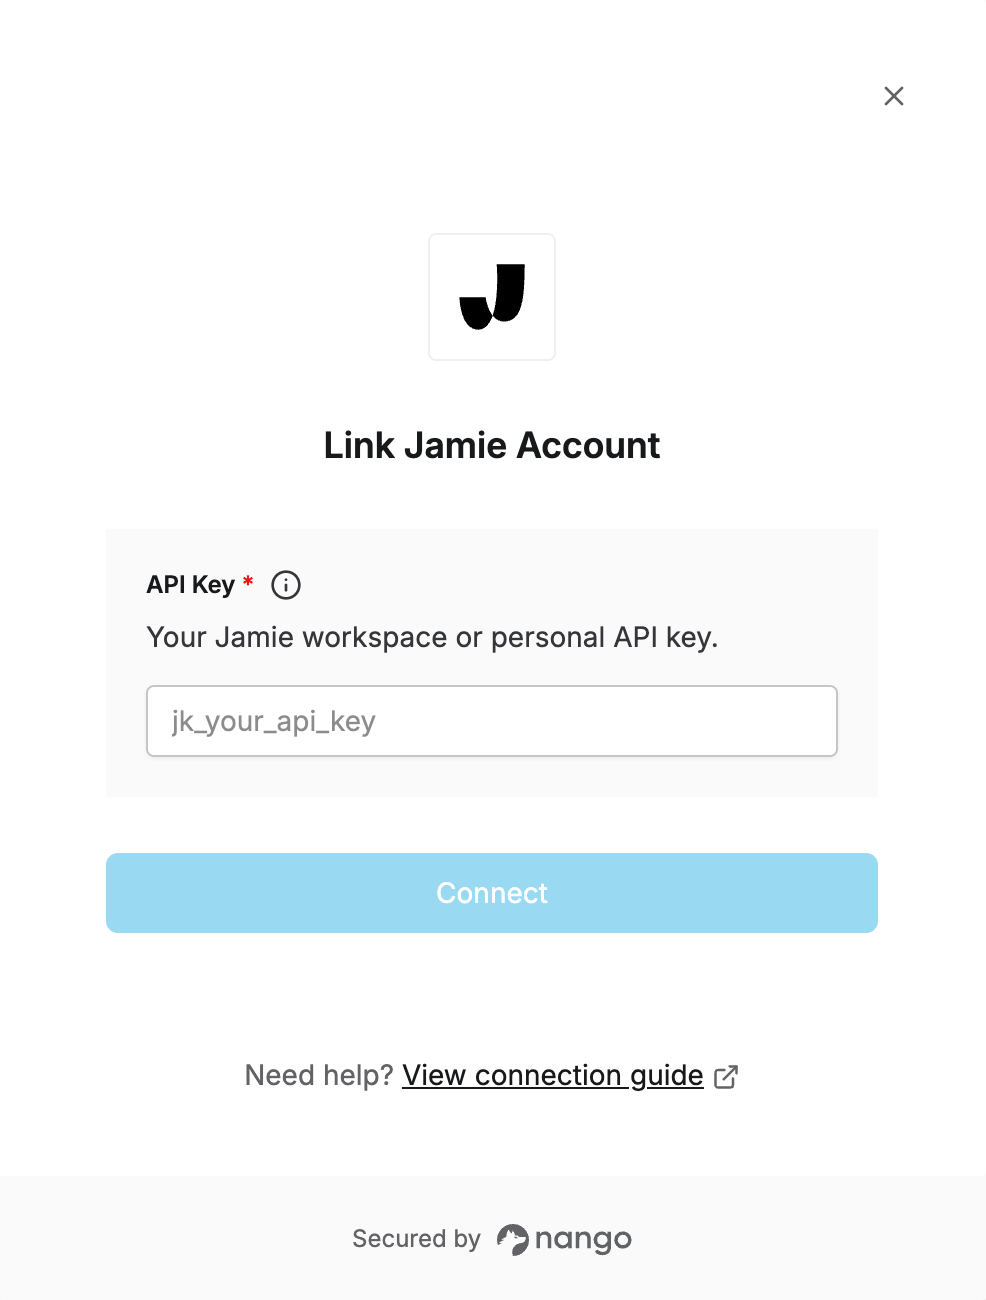 You are now connected to Jamie.
***
You are now connected to Jamie.
***