> ## Documentation Index
> Fetch the complete documentation index at: https://nango-marcin-get-deployments-docs.mintlify.site/llms.txt
> Use this file to discover all available pages before exploring further.
# Acumatica - How do I link my account?
# Overview
To authenticate with Acumatica using the Resource Owner Password Credentials flow, you will need:
1. **Instance URL** — The hostname of your Acumatica ERP instance (e.g. `mycompany.acumatica.com`)
2. **Client ID** — The client ID assigned to your connected application, including the tenant suffix (e.g. `88358B02-A48D-A50E-F710-39C1636C30F6@MyTenant`)
3. **Client Secret** — The client secret created for your connected application
4. **Username** — The username of an Acumatica ERP user
5. **Password** — The password for the specified username
This guide will walk you through obtaining each of these values.
### Prerequisites
* An active Acumatica ERP instance with administrator access
* Permission to manage connected applications in Acumatica
### Instructions
#### Step 1: Open Connected Applications
In Acumatica ERP, go to **System** → **Integration** → **Configure** → **Connected Applications** (SM303010).
#### Step 2: Create a new application
1. In the **Client Name** field, enter a name for your application. Leave **Client ID** blank — the system auto-generates it on save.
2. In the **OAuth 2.0 Flow** dropdown, select **Resource Owner Password Credentials**.
#### Step 3: Add a client secret
1. Click **Add Shared Secret**.
2. Enter a description and optionally an expiration date.
3. Click **OK** and copy the secret value immediately.
The secret value is shown only once. Store it securely and never expose it in client-side code, logs, or URLs.
#### Step 4: Configure scopes
On the **Scopes** tab, add the `api` and `offline_access` scopes. The `offline_access` scope is required so Acumatica issues a refresh token — without it, your connection will stop working once the access token expires.
Do not add `api:concurrent_access` — it can cause token request failures.
#### Step 5: Save to activate
Click **Save**. Once saved, copy your **Client ID** from the application record.
The Client ID includes an auto-generated string and the tenant ID, for example `88358B02-A48D-A50E-F710-39C1636C30F6@MyTenant`. Copy the full value including the `@TenantId` suffix.
#### Step 6: Identify your instance URL
Your instance URL is the hostname you use to access Acumatica. For example, if you access Acumatica at `https://mycompany.acumatica.com`, your instance URL is `mycompany.acumatica.com`.
#### Step 7: Enter credentials in the Connect UI
1. Open the form where you need to authenticate with Acumatica.
2. Enter your **Instance URL** (hostname only, without `https://`).
3. Enter your **Username** and **Password** for the Acumatica ERP user.
4. Enter your **Client ID** (the full value including the `@TenantId` suffix).
5. Enter your **Client Secret**.
6. Submit the form.
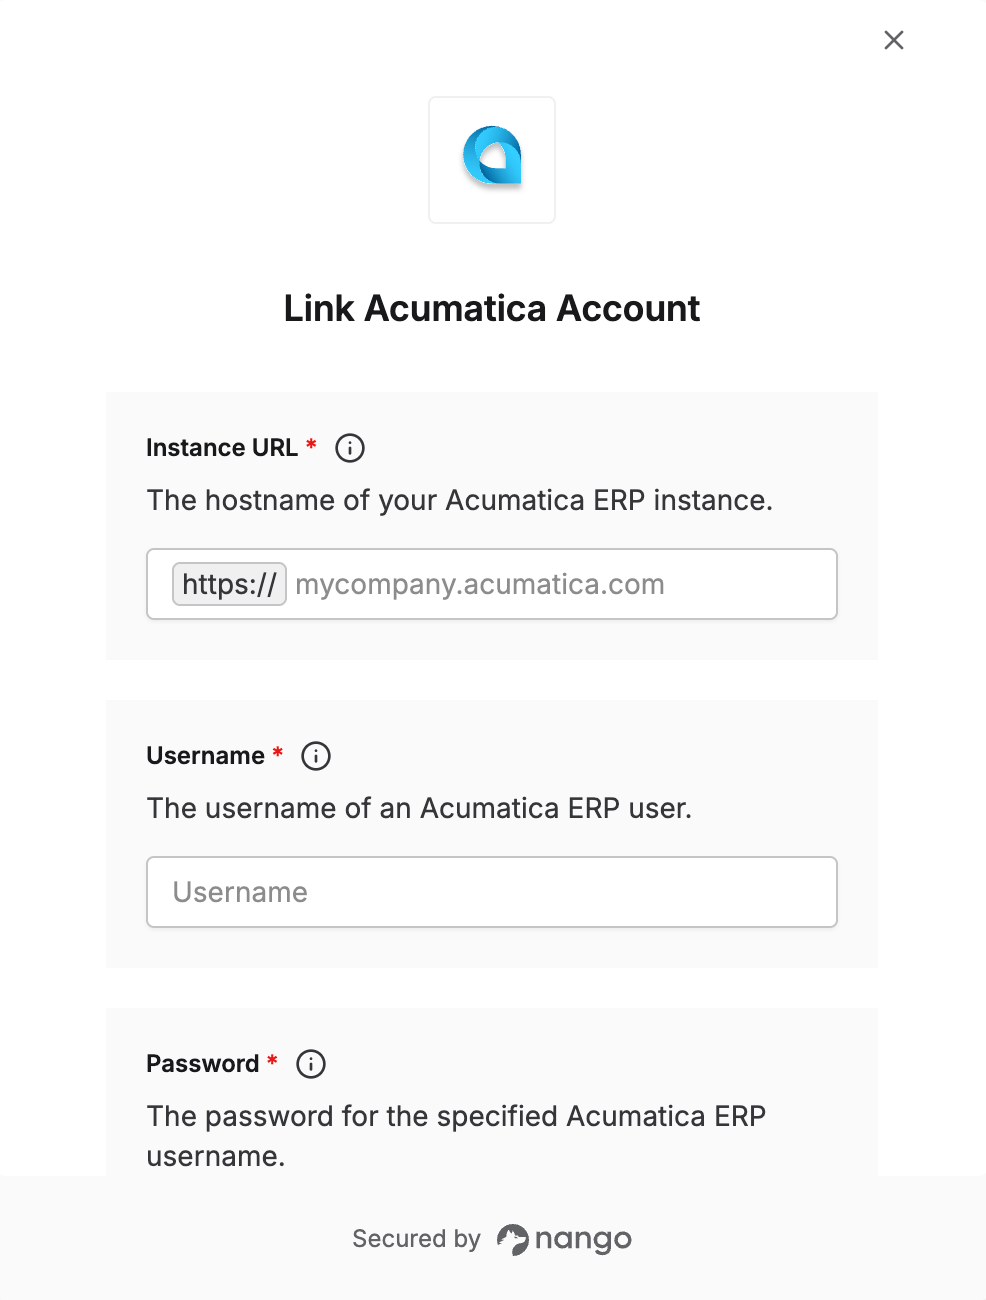 You are now connected to Acumatica.
***
You are now connected to Acumatica.
***